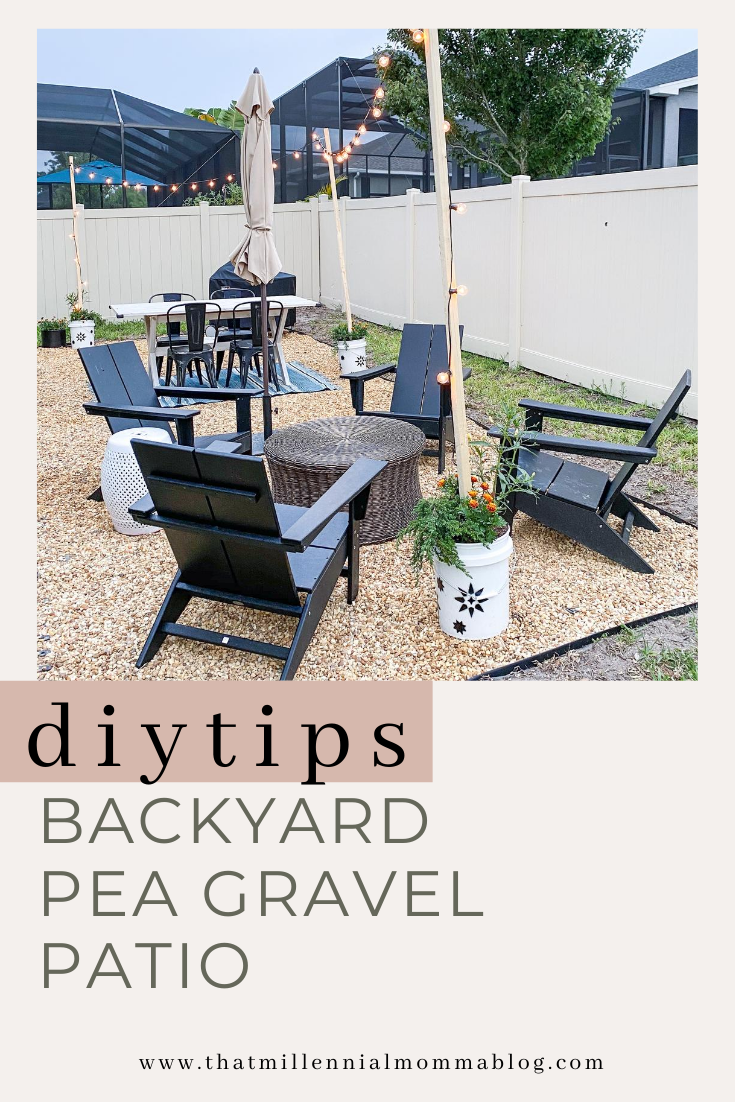
Backyard Patio Design + DIY
/
Nothing says perfectly executing timing like finishing an entertaining space in the middle of a global pandemic. Since you, dear reader in Internet world, are one of my first guests to enjoy this space, WELCOME!
When I first started this project, my family and I were spending a large amount of time in our backyard even though it was mess. The physical space around me plays heavily into how I emotionally experience things, so I decided it was time for a change. However, my wallet disagreed.
While I would have loved beautiful limestone and water features, I was on a budget (per usual). After some research and cost analysis, I opted for a DIY pea gravel patio. This option offered everything I was looking for - a defined entertaining space, ease of use and installation, and budget friendly.
If you check out Pinterest, you will see some beautiful pea gravel patios, but don’t get your heart set on any one look too soon! You will find out quickly that the availability of pea gravel in the color that you want depends on your area. In central Florida, pretty much all pea gravel is the orange-ish color that you see here, not the pristine white of Pinterest.
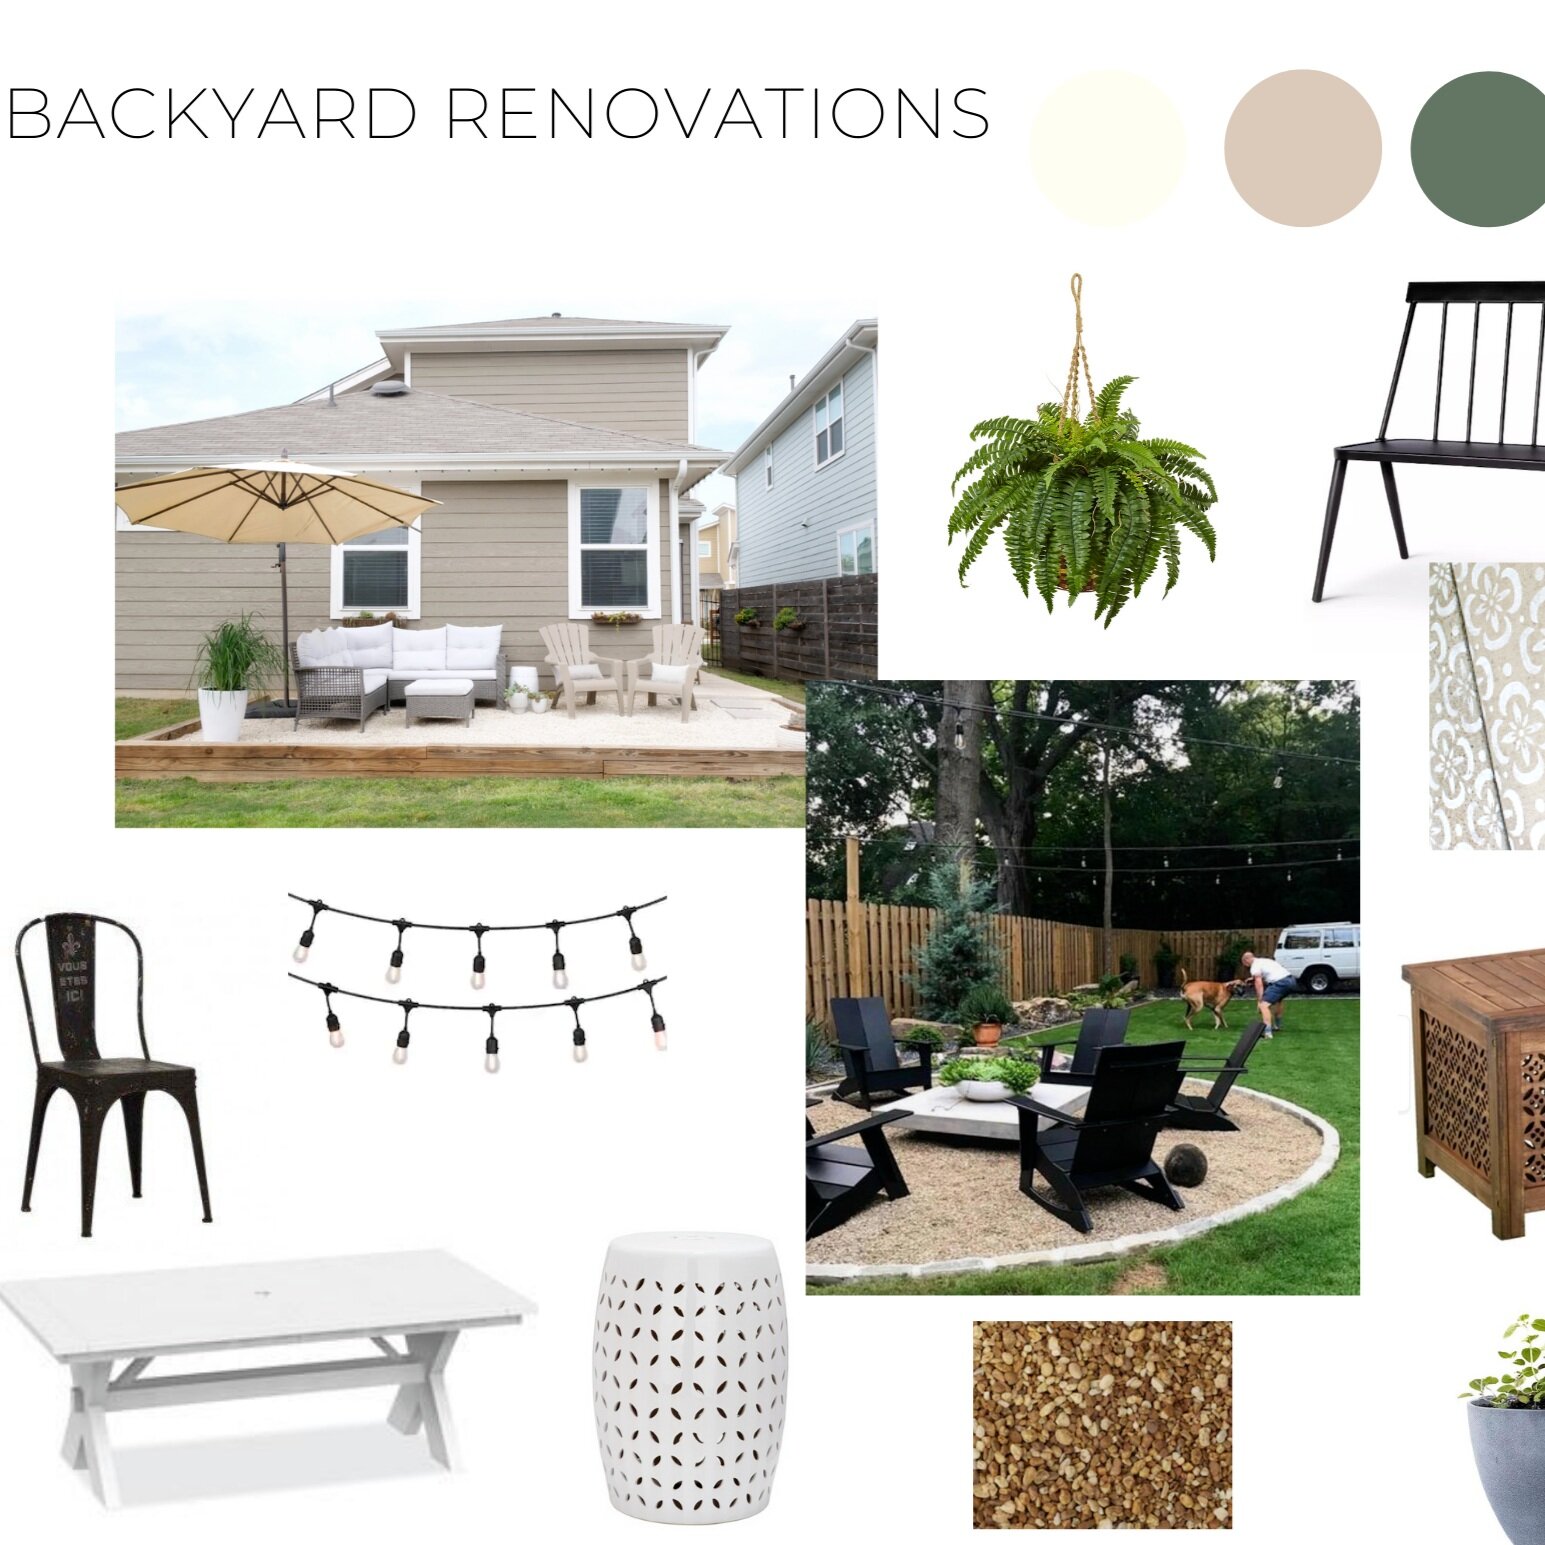
Another thing to consider when choosing your material are the colors of the items that you will be using in the space and the colors of the exterior of your home. I generally keep it neutral with my furniture, and this was no different. The items that I planned to put in the space would be mostly black and white with some pops of blues. The color of my home on the other hand threw me through a loop. My home is a dark redish brass kind of color ( I did not choose it!). While a lot of things would not work with this color, I got lucky with the pea gravel being near the color family of my home. I would avoid a material that only comes in colors that would clash with your home.
At this point, the visual learner in me made a mood board and a plan for execution. You can check out the ideas that I started with in this post - Backyard Refresh. So, we went to work collecting our supplies!
Supplies List
Pea gravel - you will have to calculate how much you need based on the area you plan to cover and the depth that you want the rocks to be
Tiller - this is the machine that will pull up the sod and the roots to give you a blank canvas; usually available for rent at your hardware store. We rented a Mantis Tiller.
Iron rake
Wheelbarrow
Landscape fabric + scissors or X-acto knife
Weed killer
Landscaping edging
Hammer


So how did we get here? Well, lots of sunburns and sweat earned through manual labor! The process isn’t difficult by any means, but it does take some strength to do it in the dead of summer in Florida.
First thing first, measure the area that you want your gravel patio to be. This will help you determine how much gravel you will need, how much time this will take, and how much tarp and perimeter will be required.
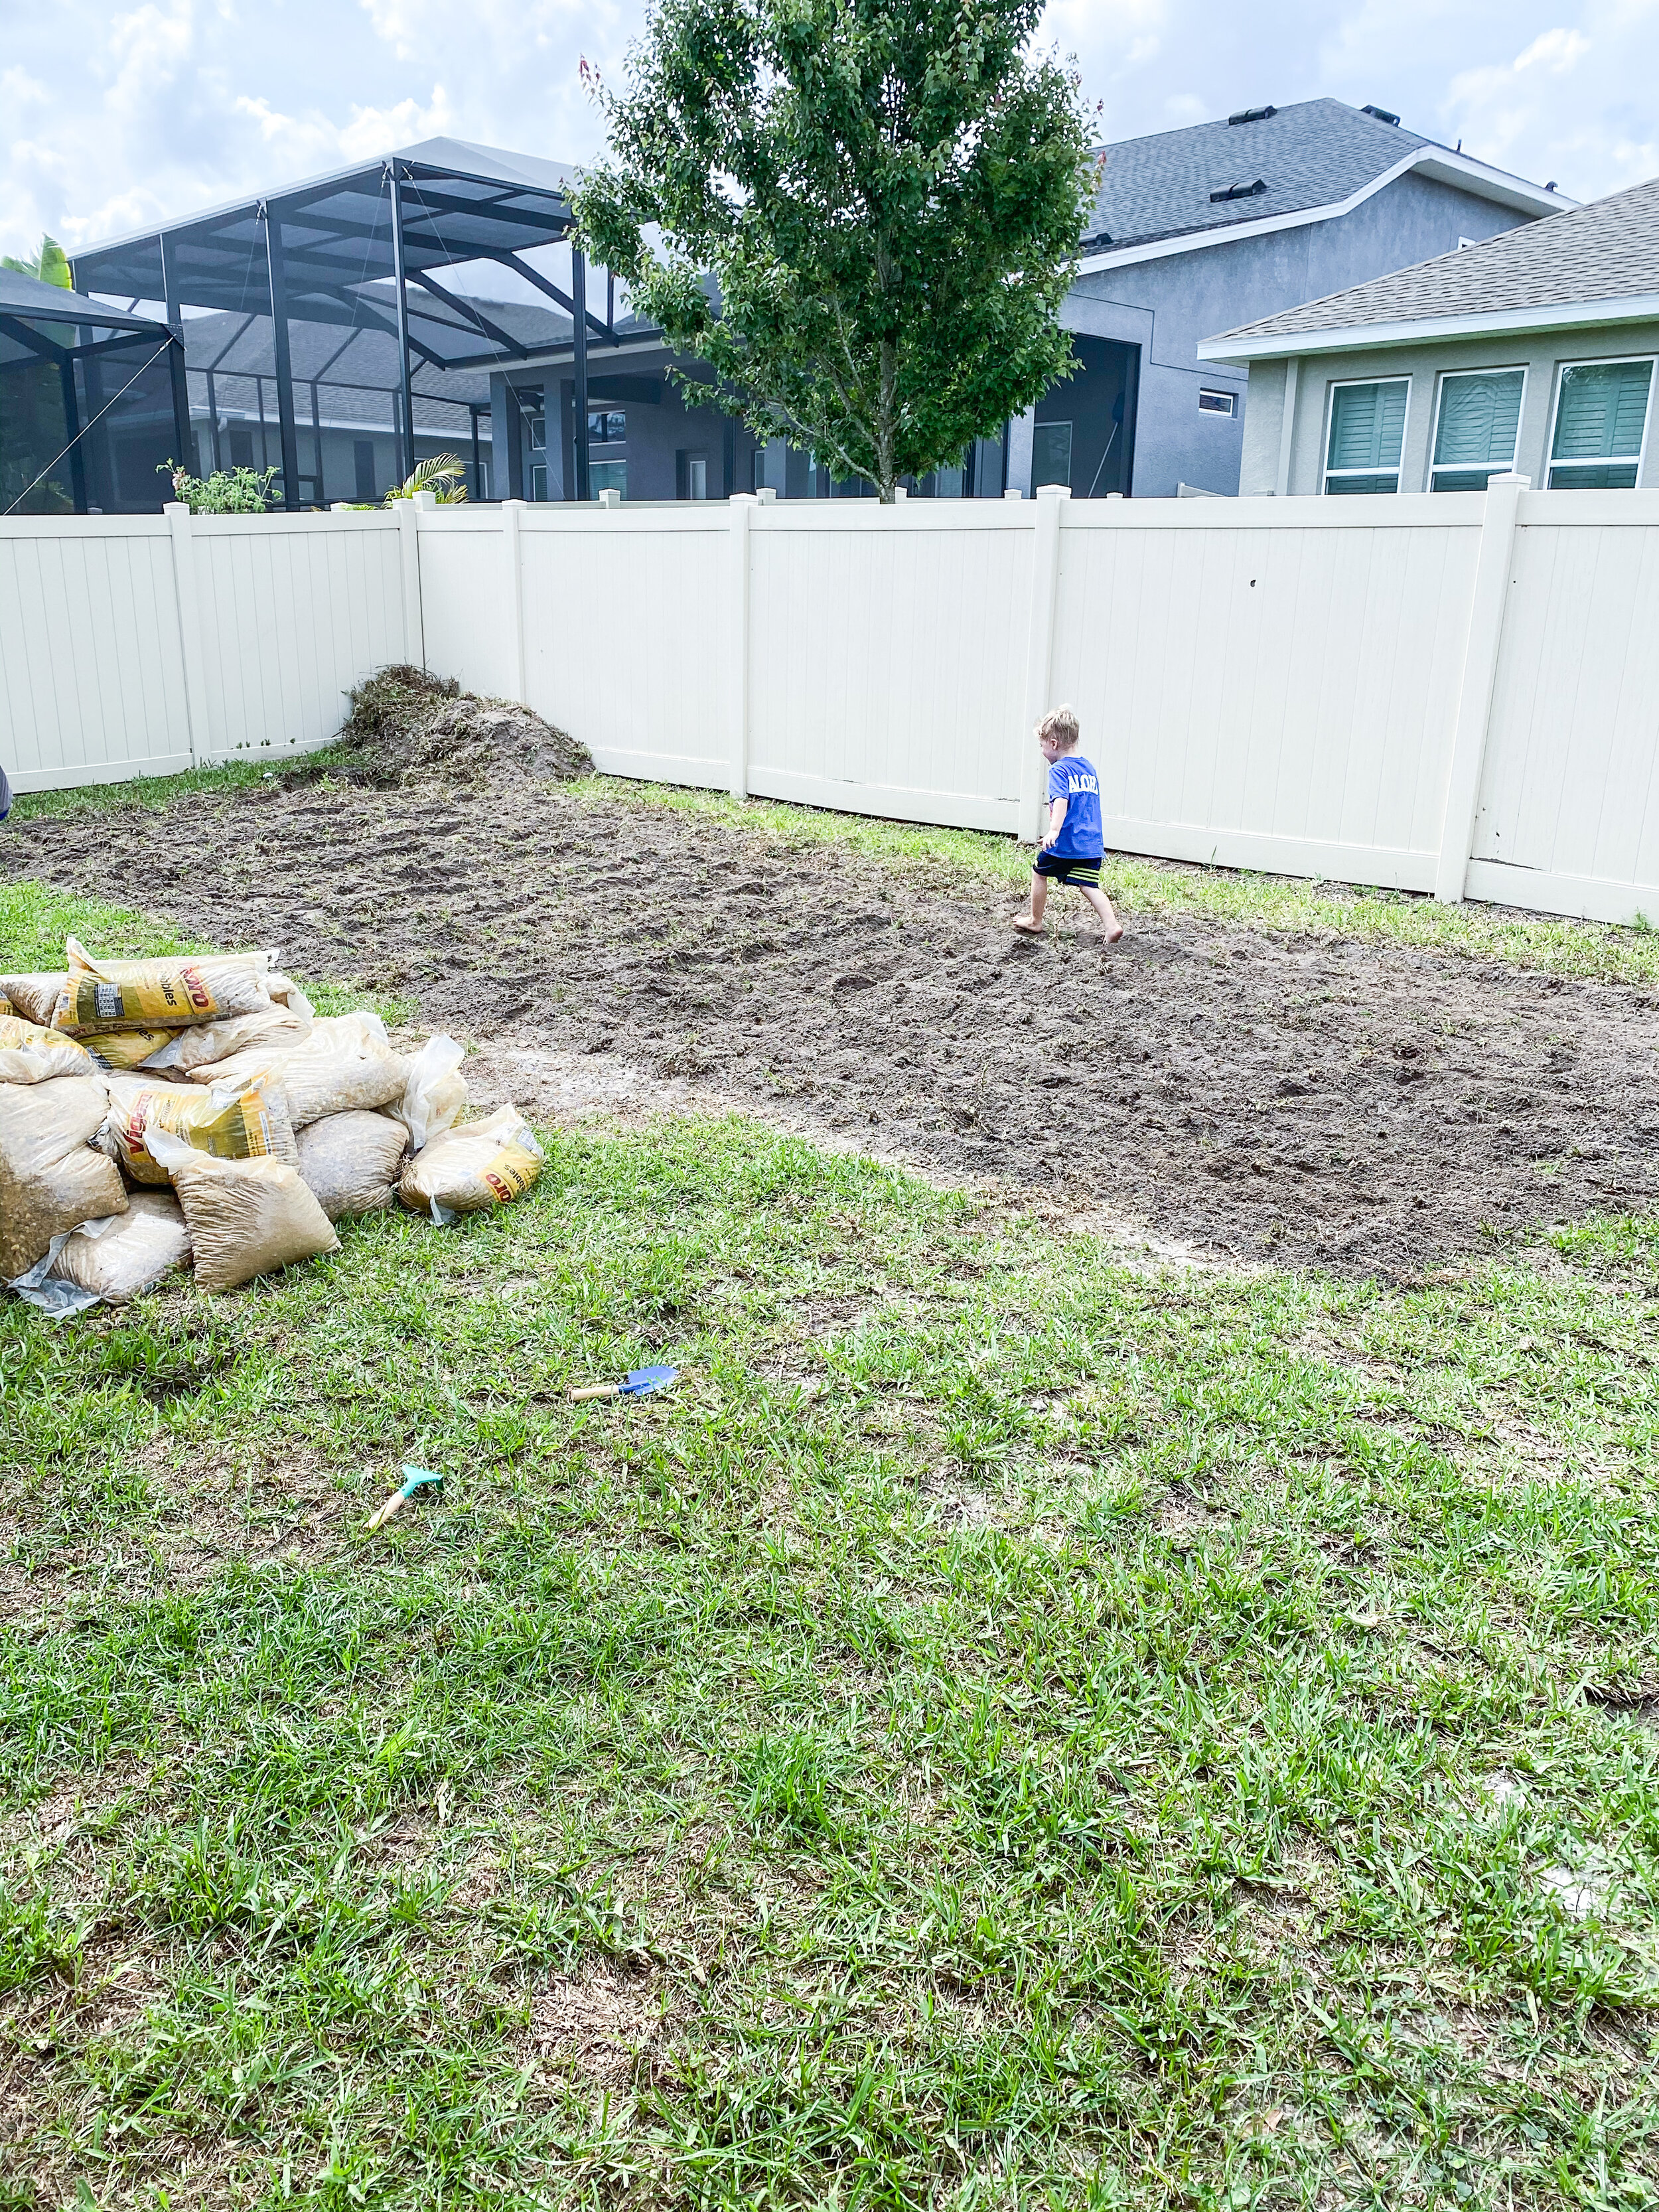
Once you’ve got that down and you are ready to invest some time in this, its time to till. We rented a tiller from the hardware store for just have 1/2 day for an area roughly 30’x 12’. It was the perfect amount of time. We were beginning from a relatively grassy starting point so we had some roots to get through and had to do three rounds of tilling to get to the soil layer you want as the base.
Then it is time to kill some weeds. We sprayed the ground with a weed killer per the instructions on the bottle. PRO TIP: Let the dog out before you do this step. Most bottles say let the product sit far from kids or animals for awhile.
This worked relatively well for us. We’ve got some little weeds popping up, but nothing that we can’t just pick and move on.
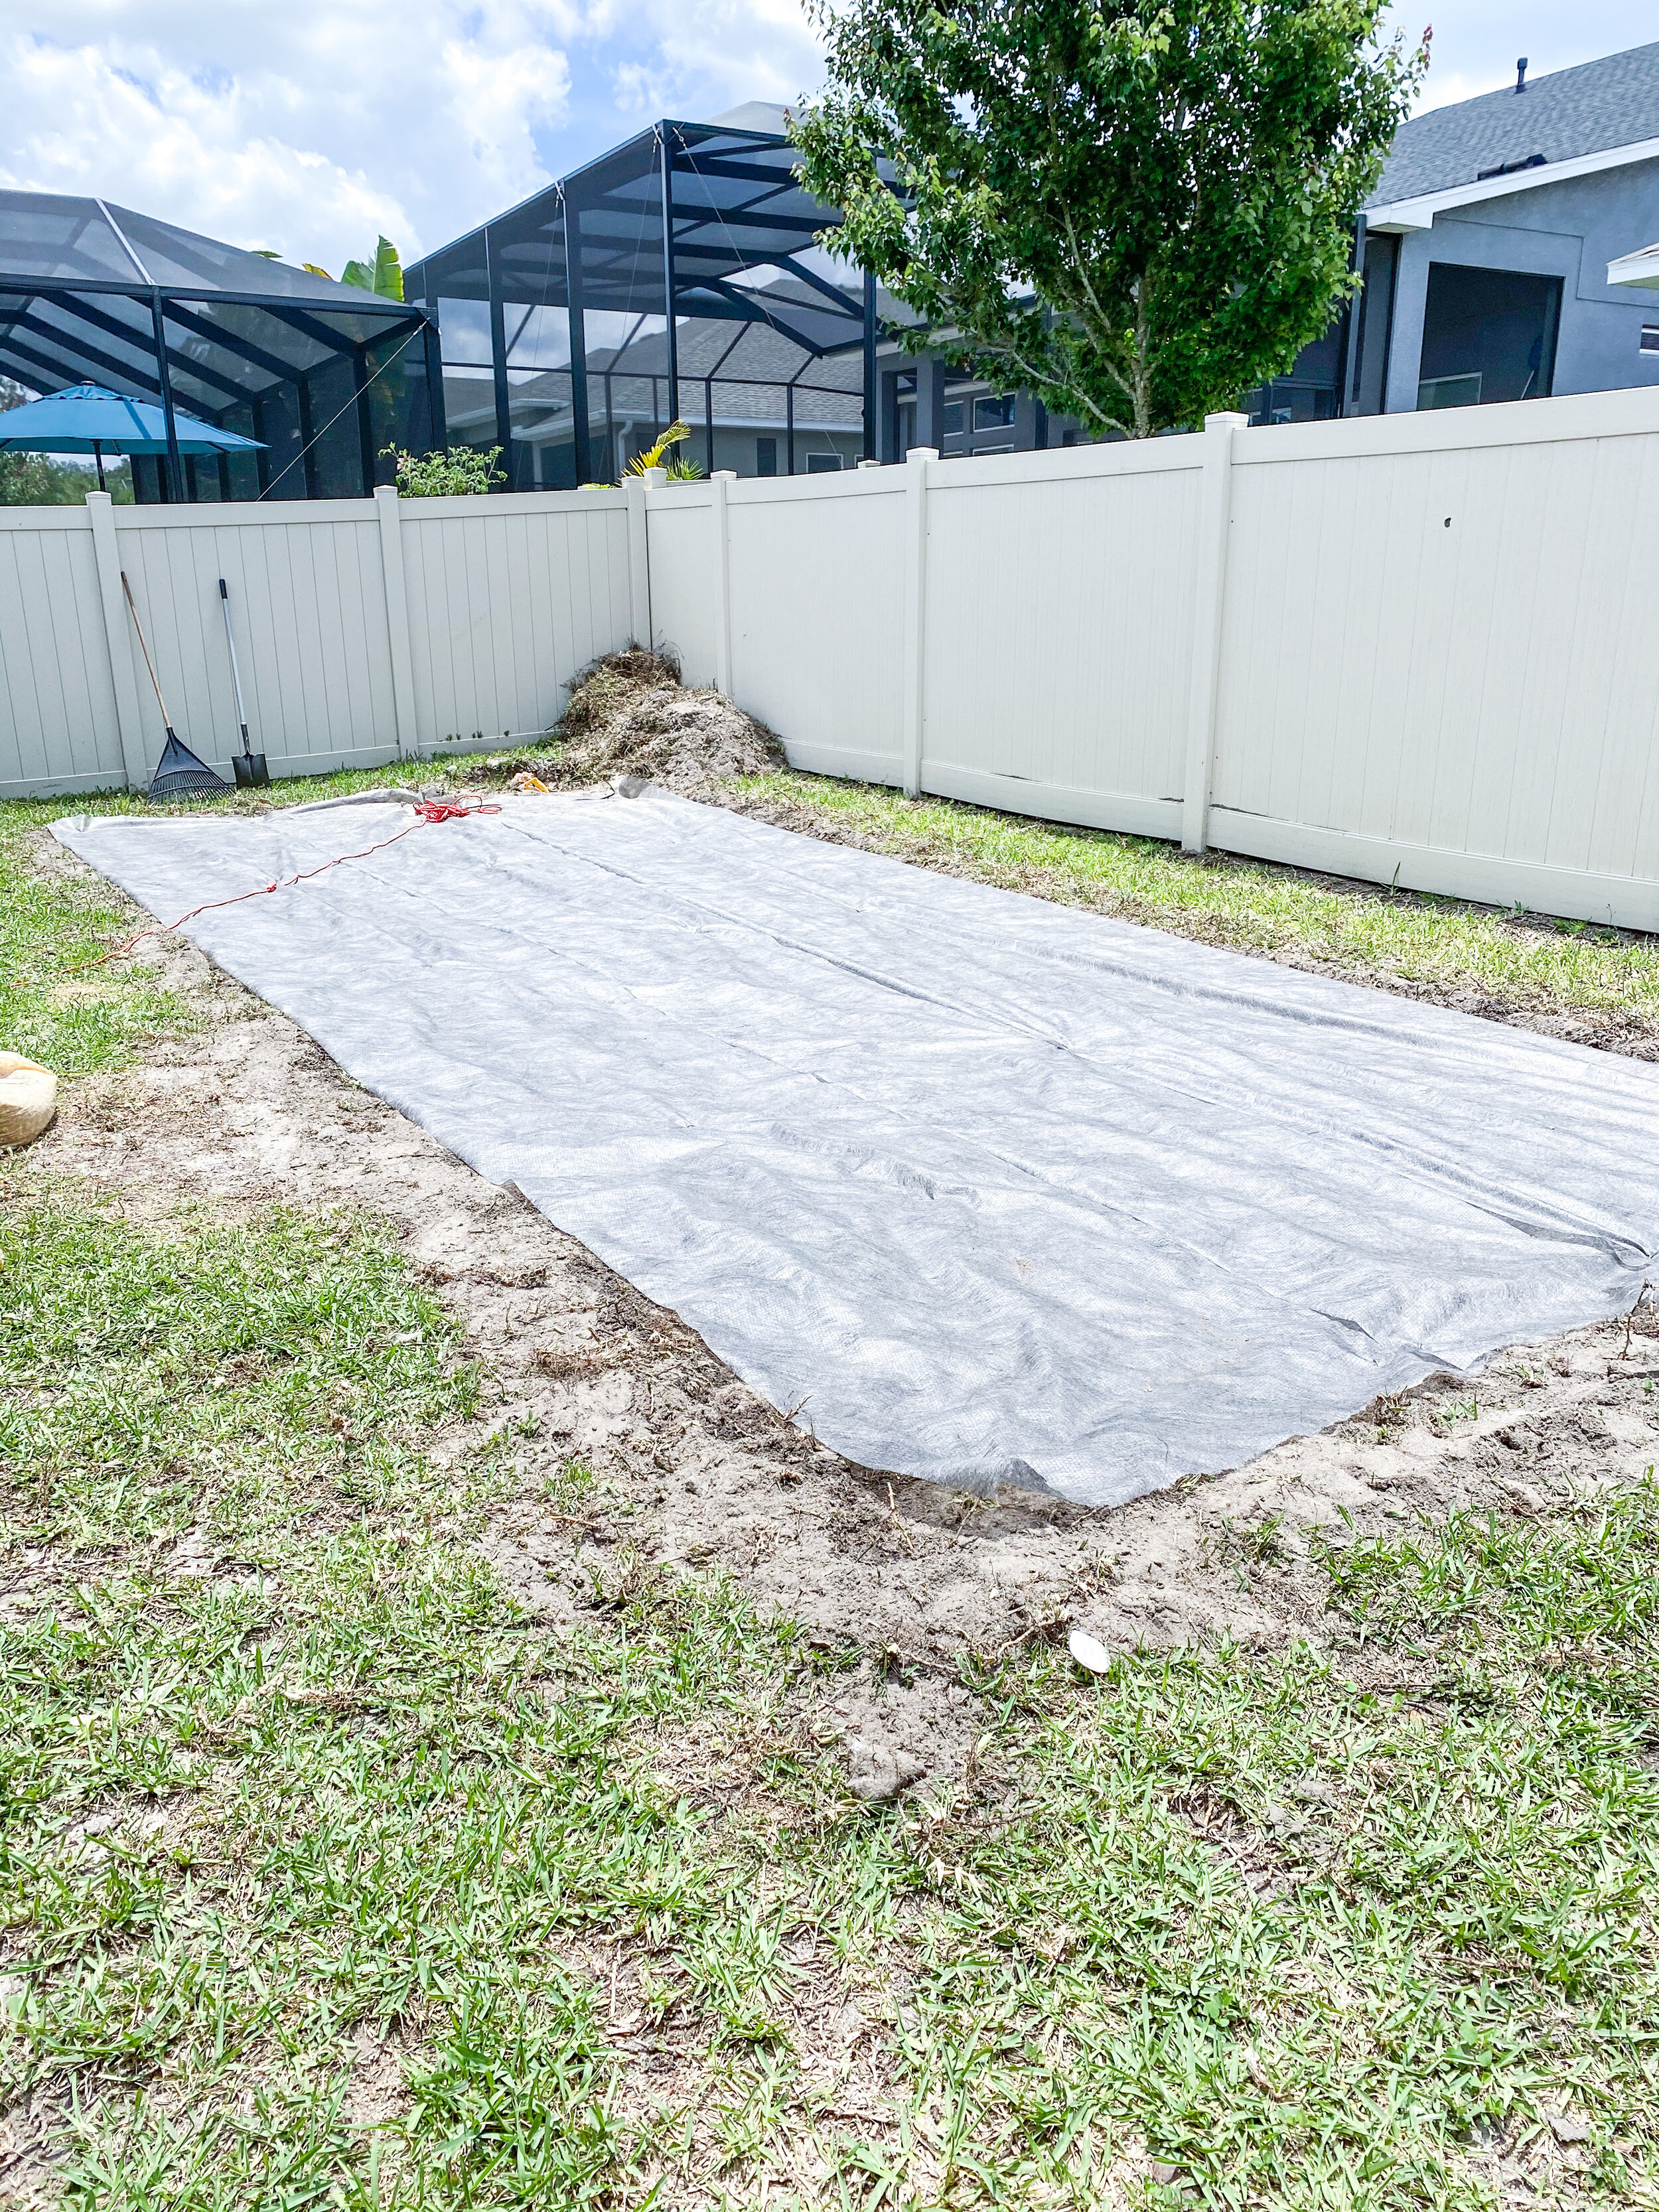
After the weed killer has done its thing, lay your tarp down and cut it to fit the area. Cut it a bit larger than you need so that you can be sure to have enough to secure the edging within the tarped area. The tarp should come with pins to secure the tarp to the ground. We went ahead and used the ones provided, and they worked fine. But you could have some longer U shaped pins on hand just in case.
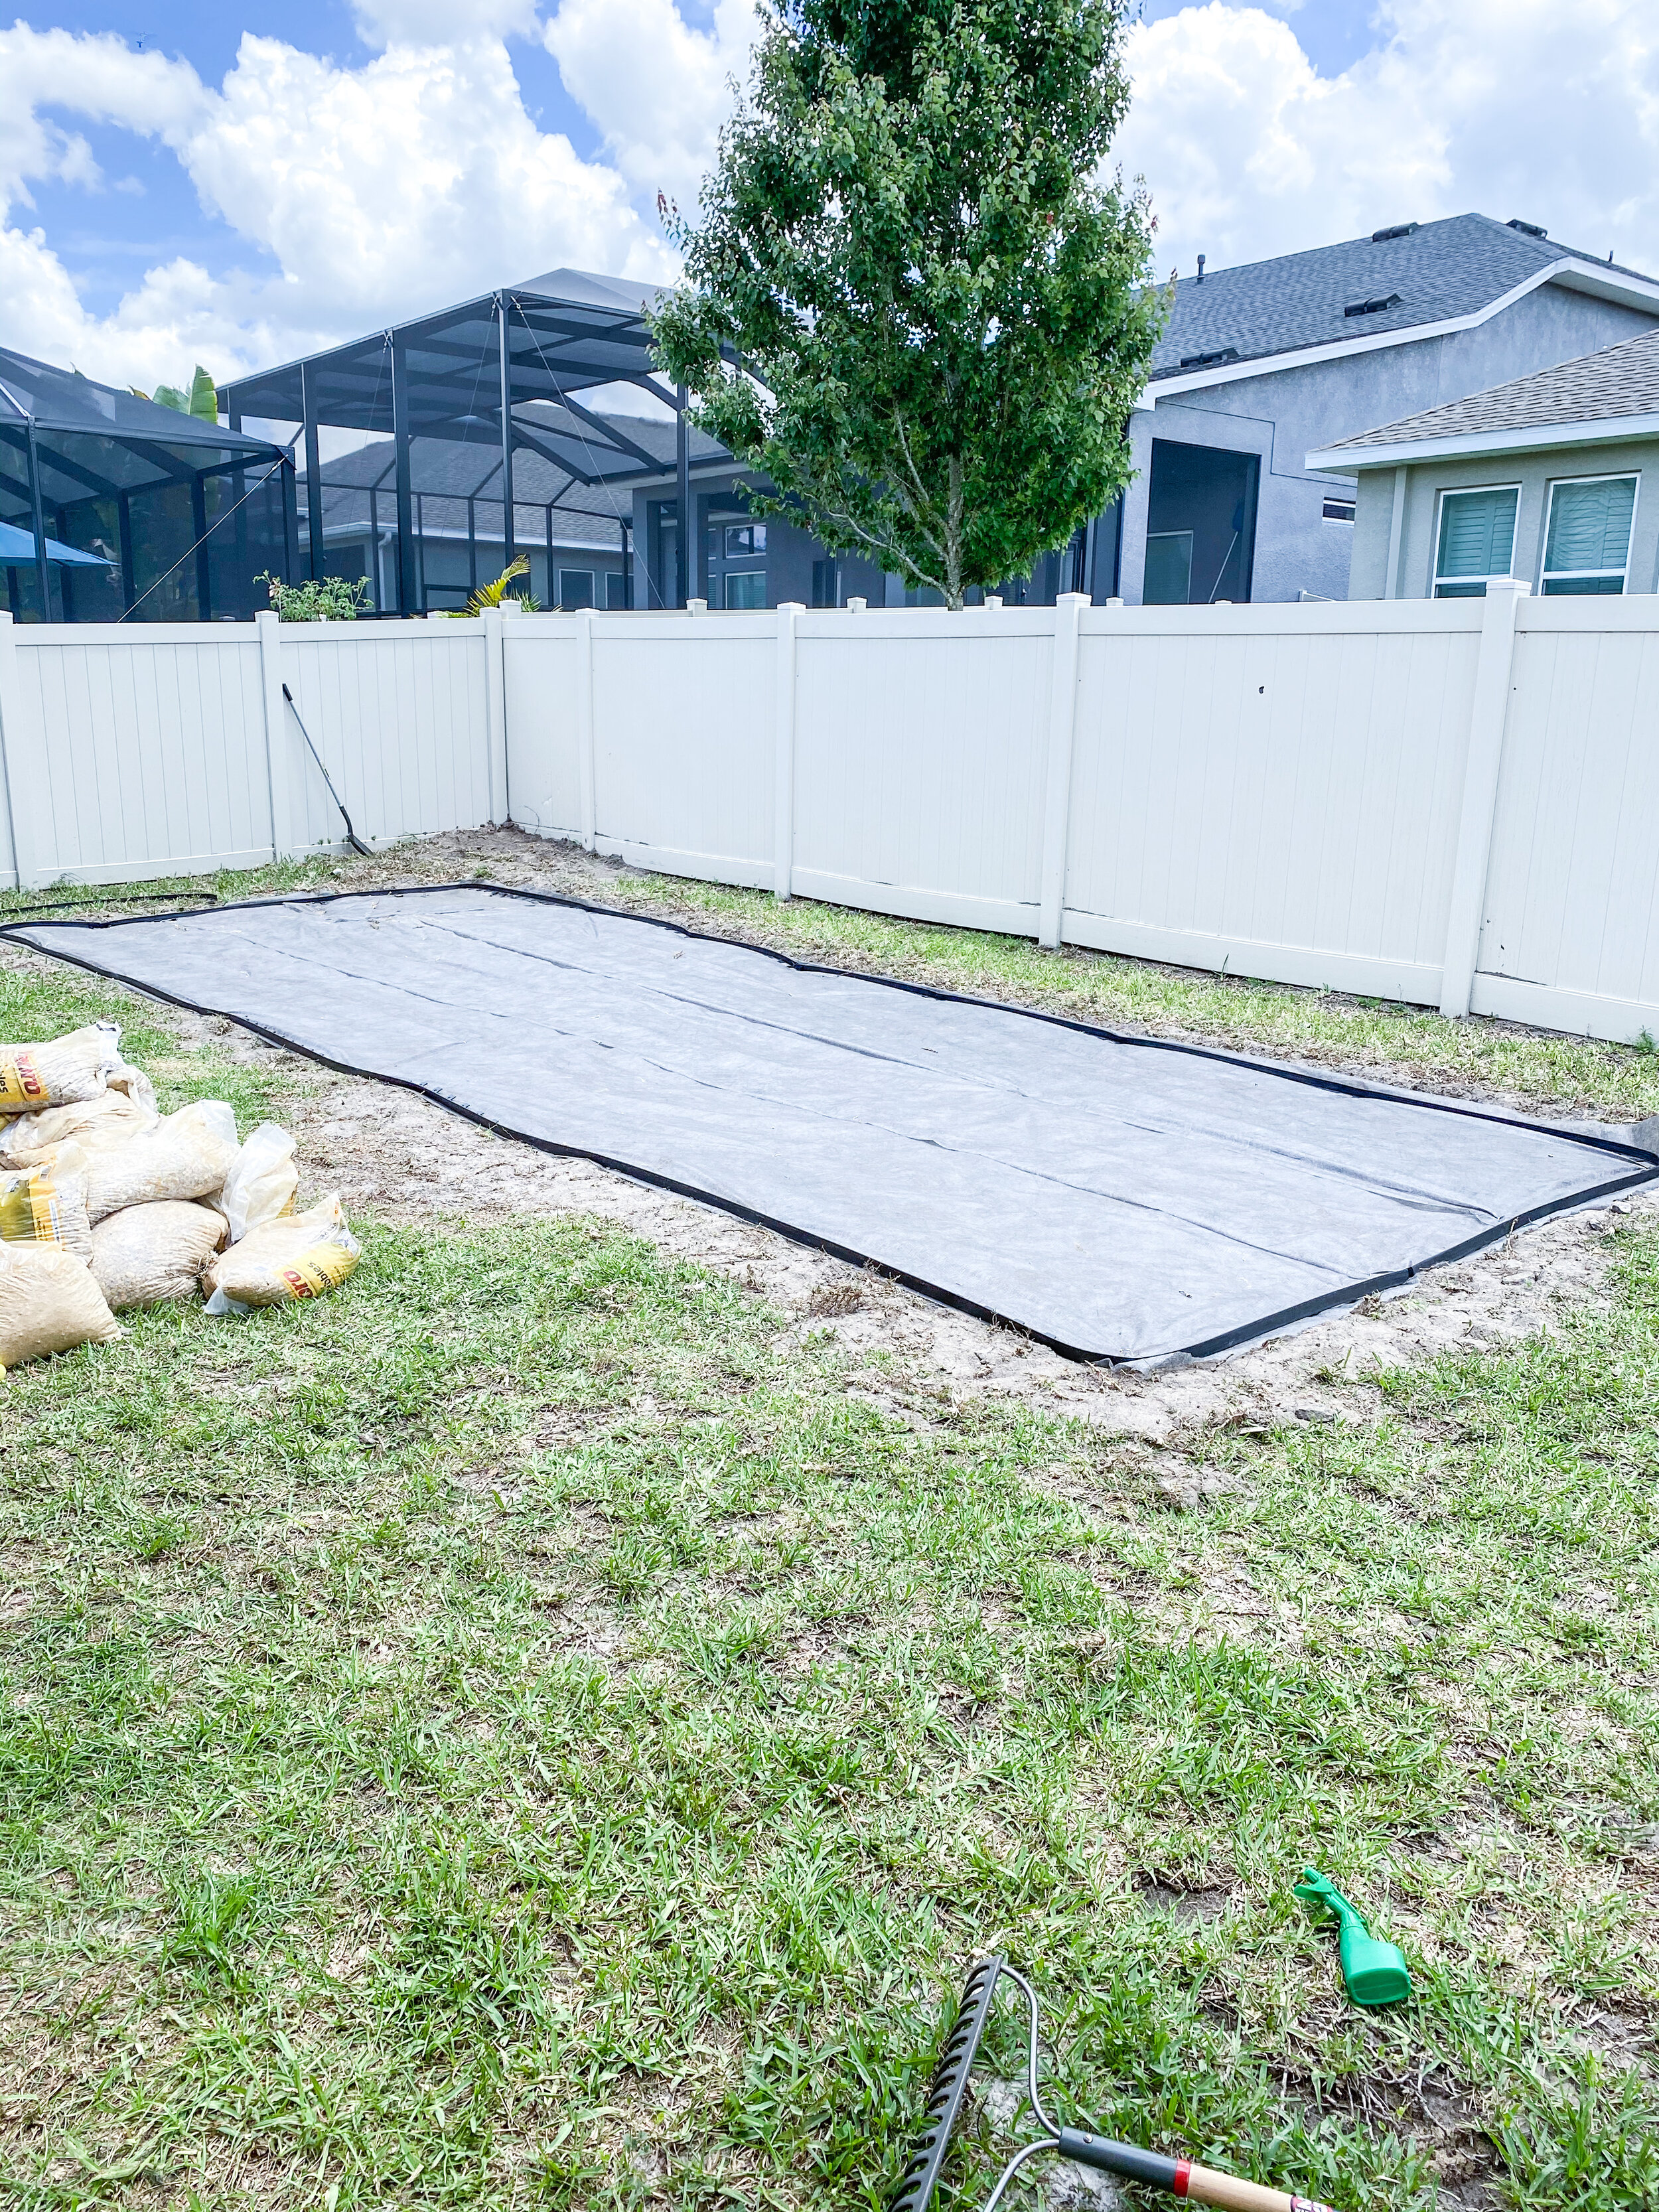
Once the tarp was secured, we installed the landscape edging as our perimeter. This is an affordable plastic border that is nailed into the ground with a stake (provided in packaging) and hammer. It is not the most beautiful, and it does move a bit. But, it fits the budget so that is what we went with for now.
In a perfect world, pavers would have been a great option. But I wasn’t interested in the price tag or the installation required.
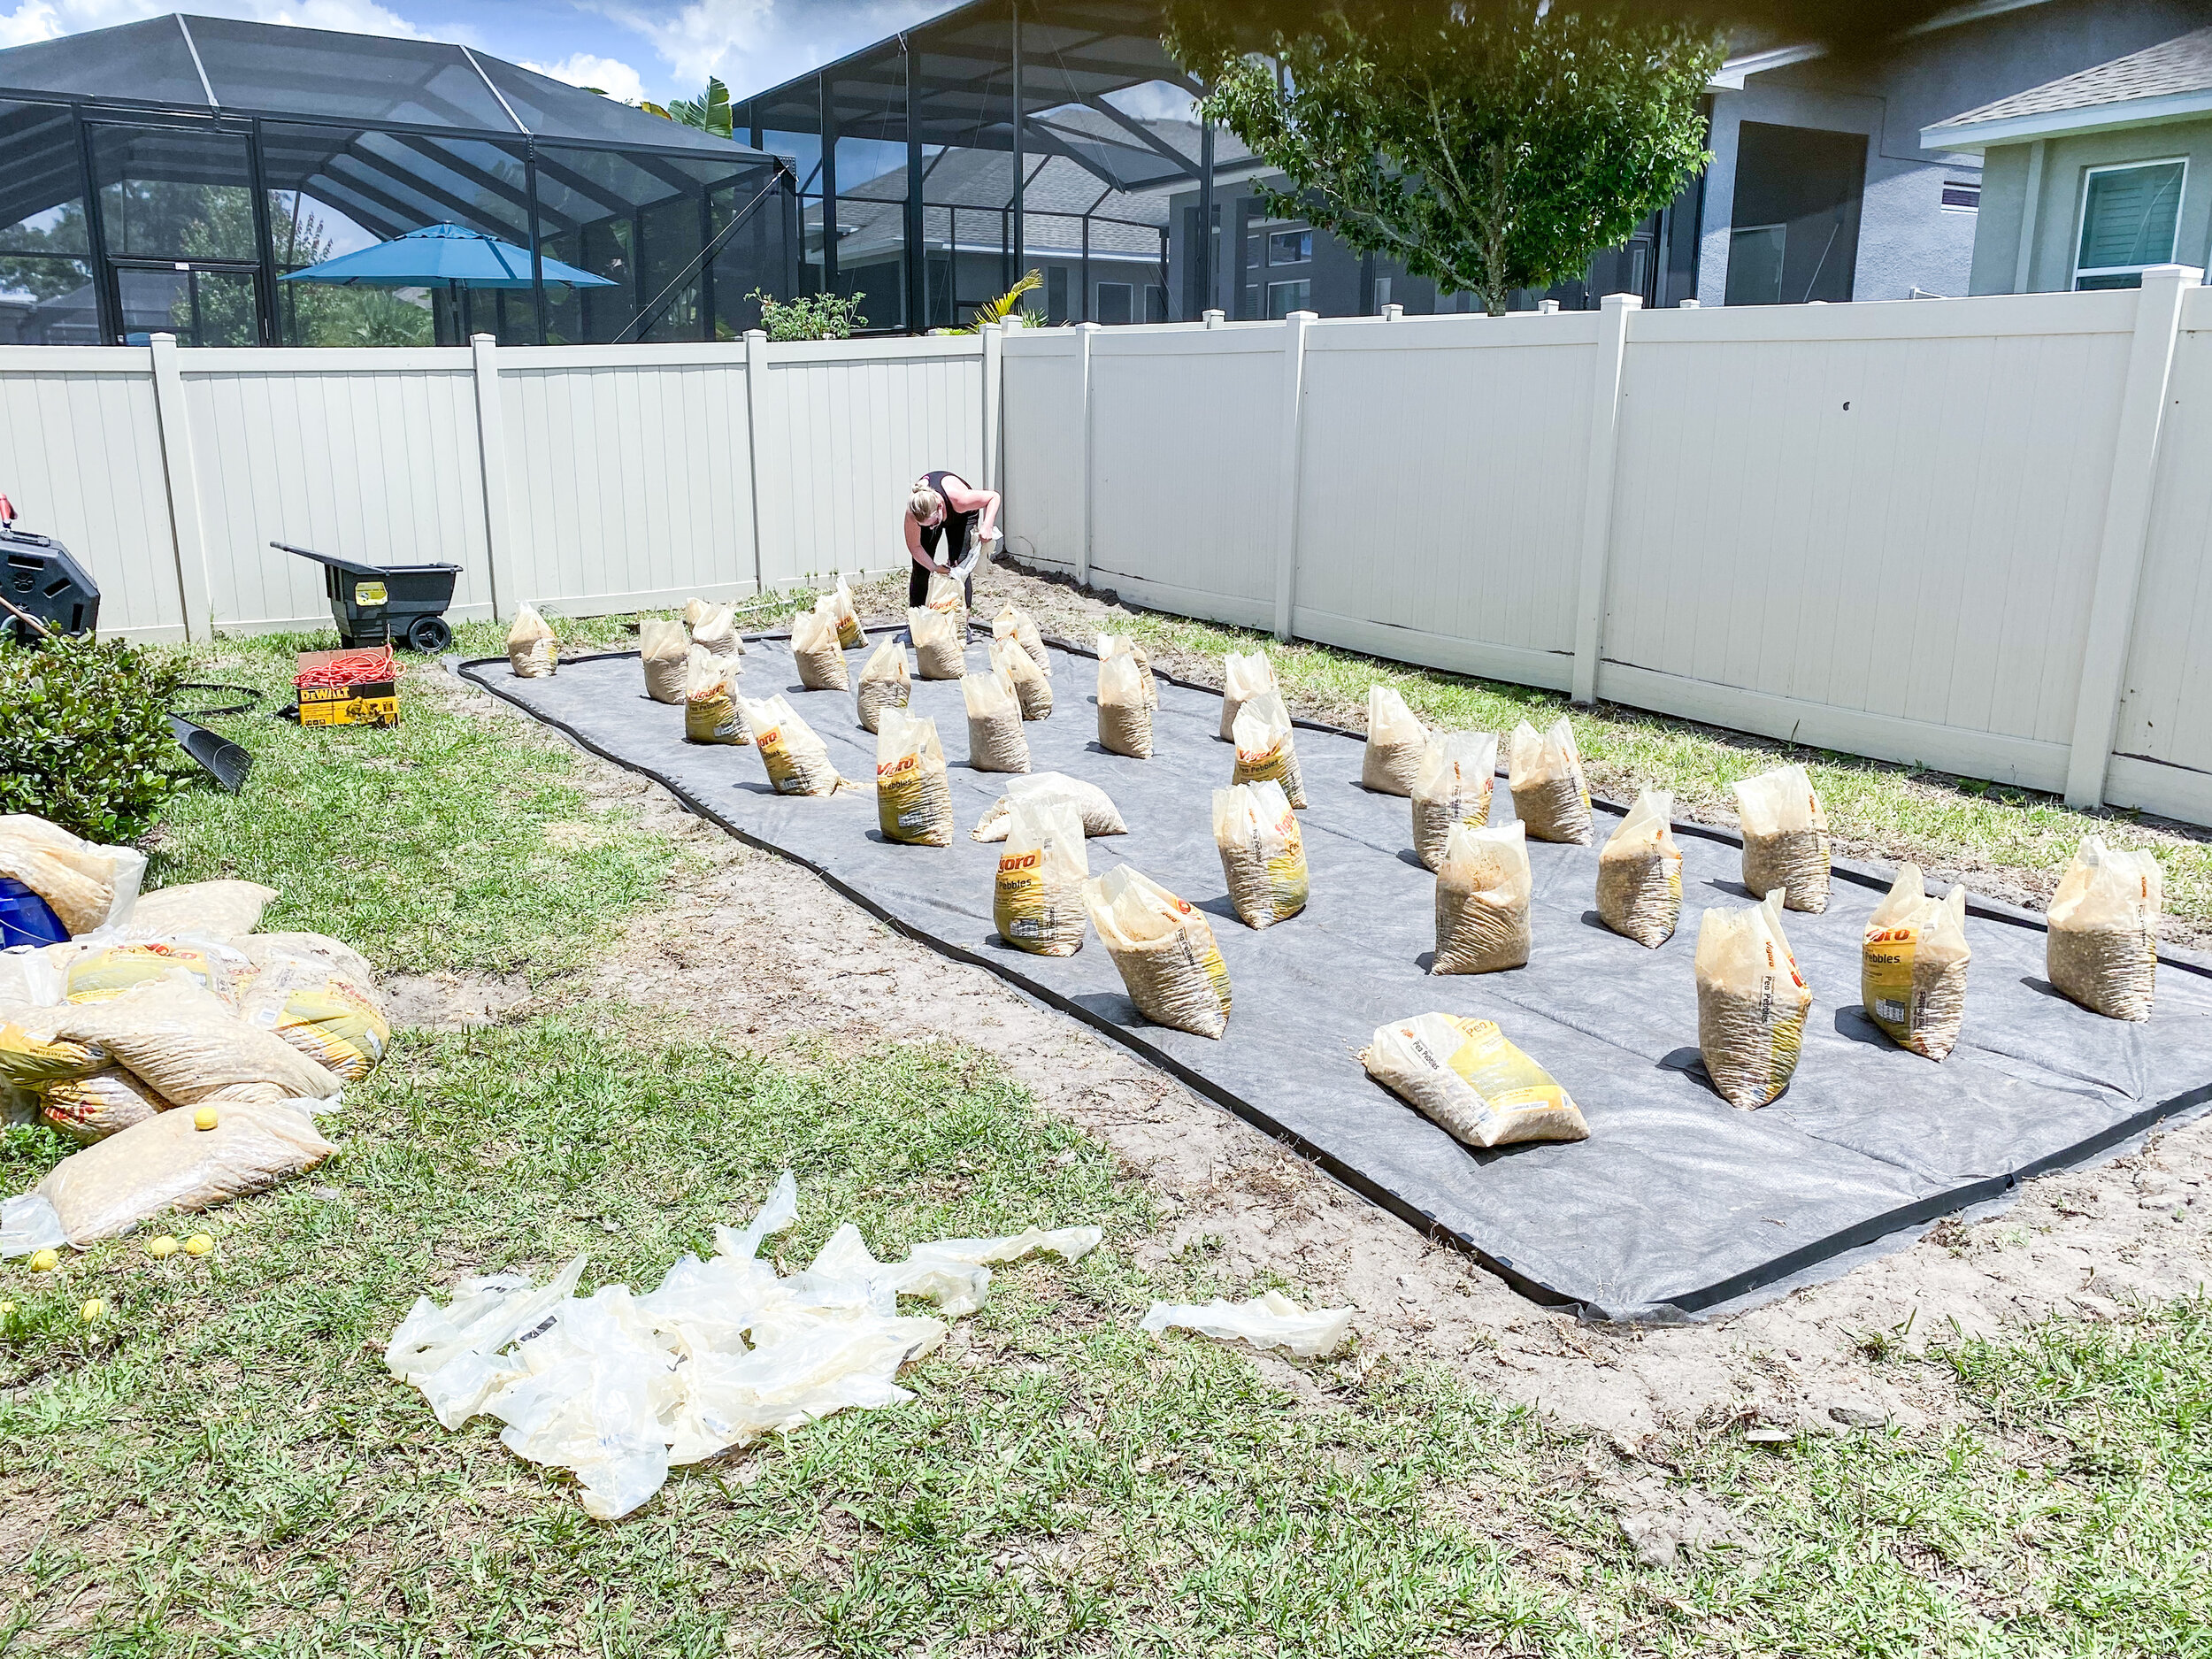
Then comes the gravel. These bags are not light. For our patio, we needed 60 bags of gravel. We spread the bags out then opened and spread them in an assembly line fashion. This is the big workout part. Do some stretching.

The biggest issue which we are still trying to overcome is the dirt around the edging. We tilled larger than the area that we ended up putting the border around leaving that extra dirt. Obviously, no grass is growing there so we are left with a bit of an unsightly border. Working on it.
All in, this was the most affordable way to go, but it also required a lot of work. It takes some time, but now we have a place to enjoy the evenings once the kids are in bed.
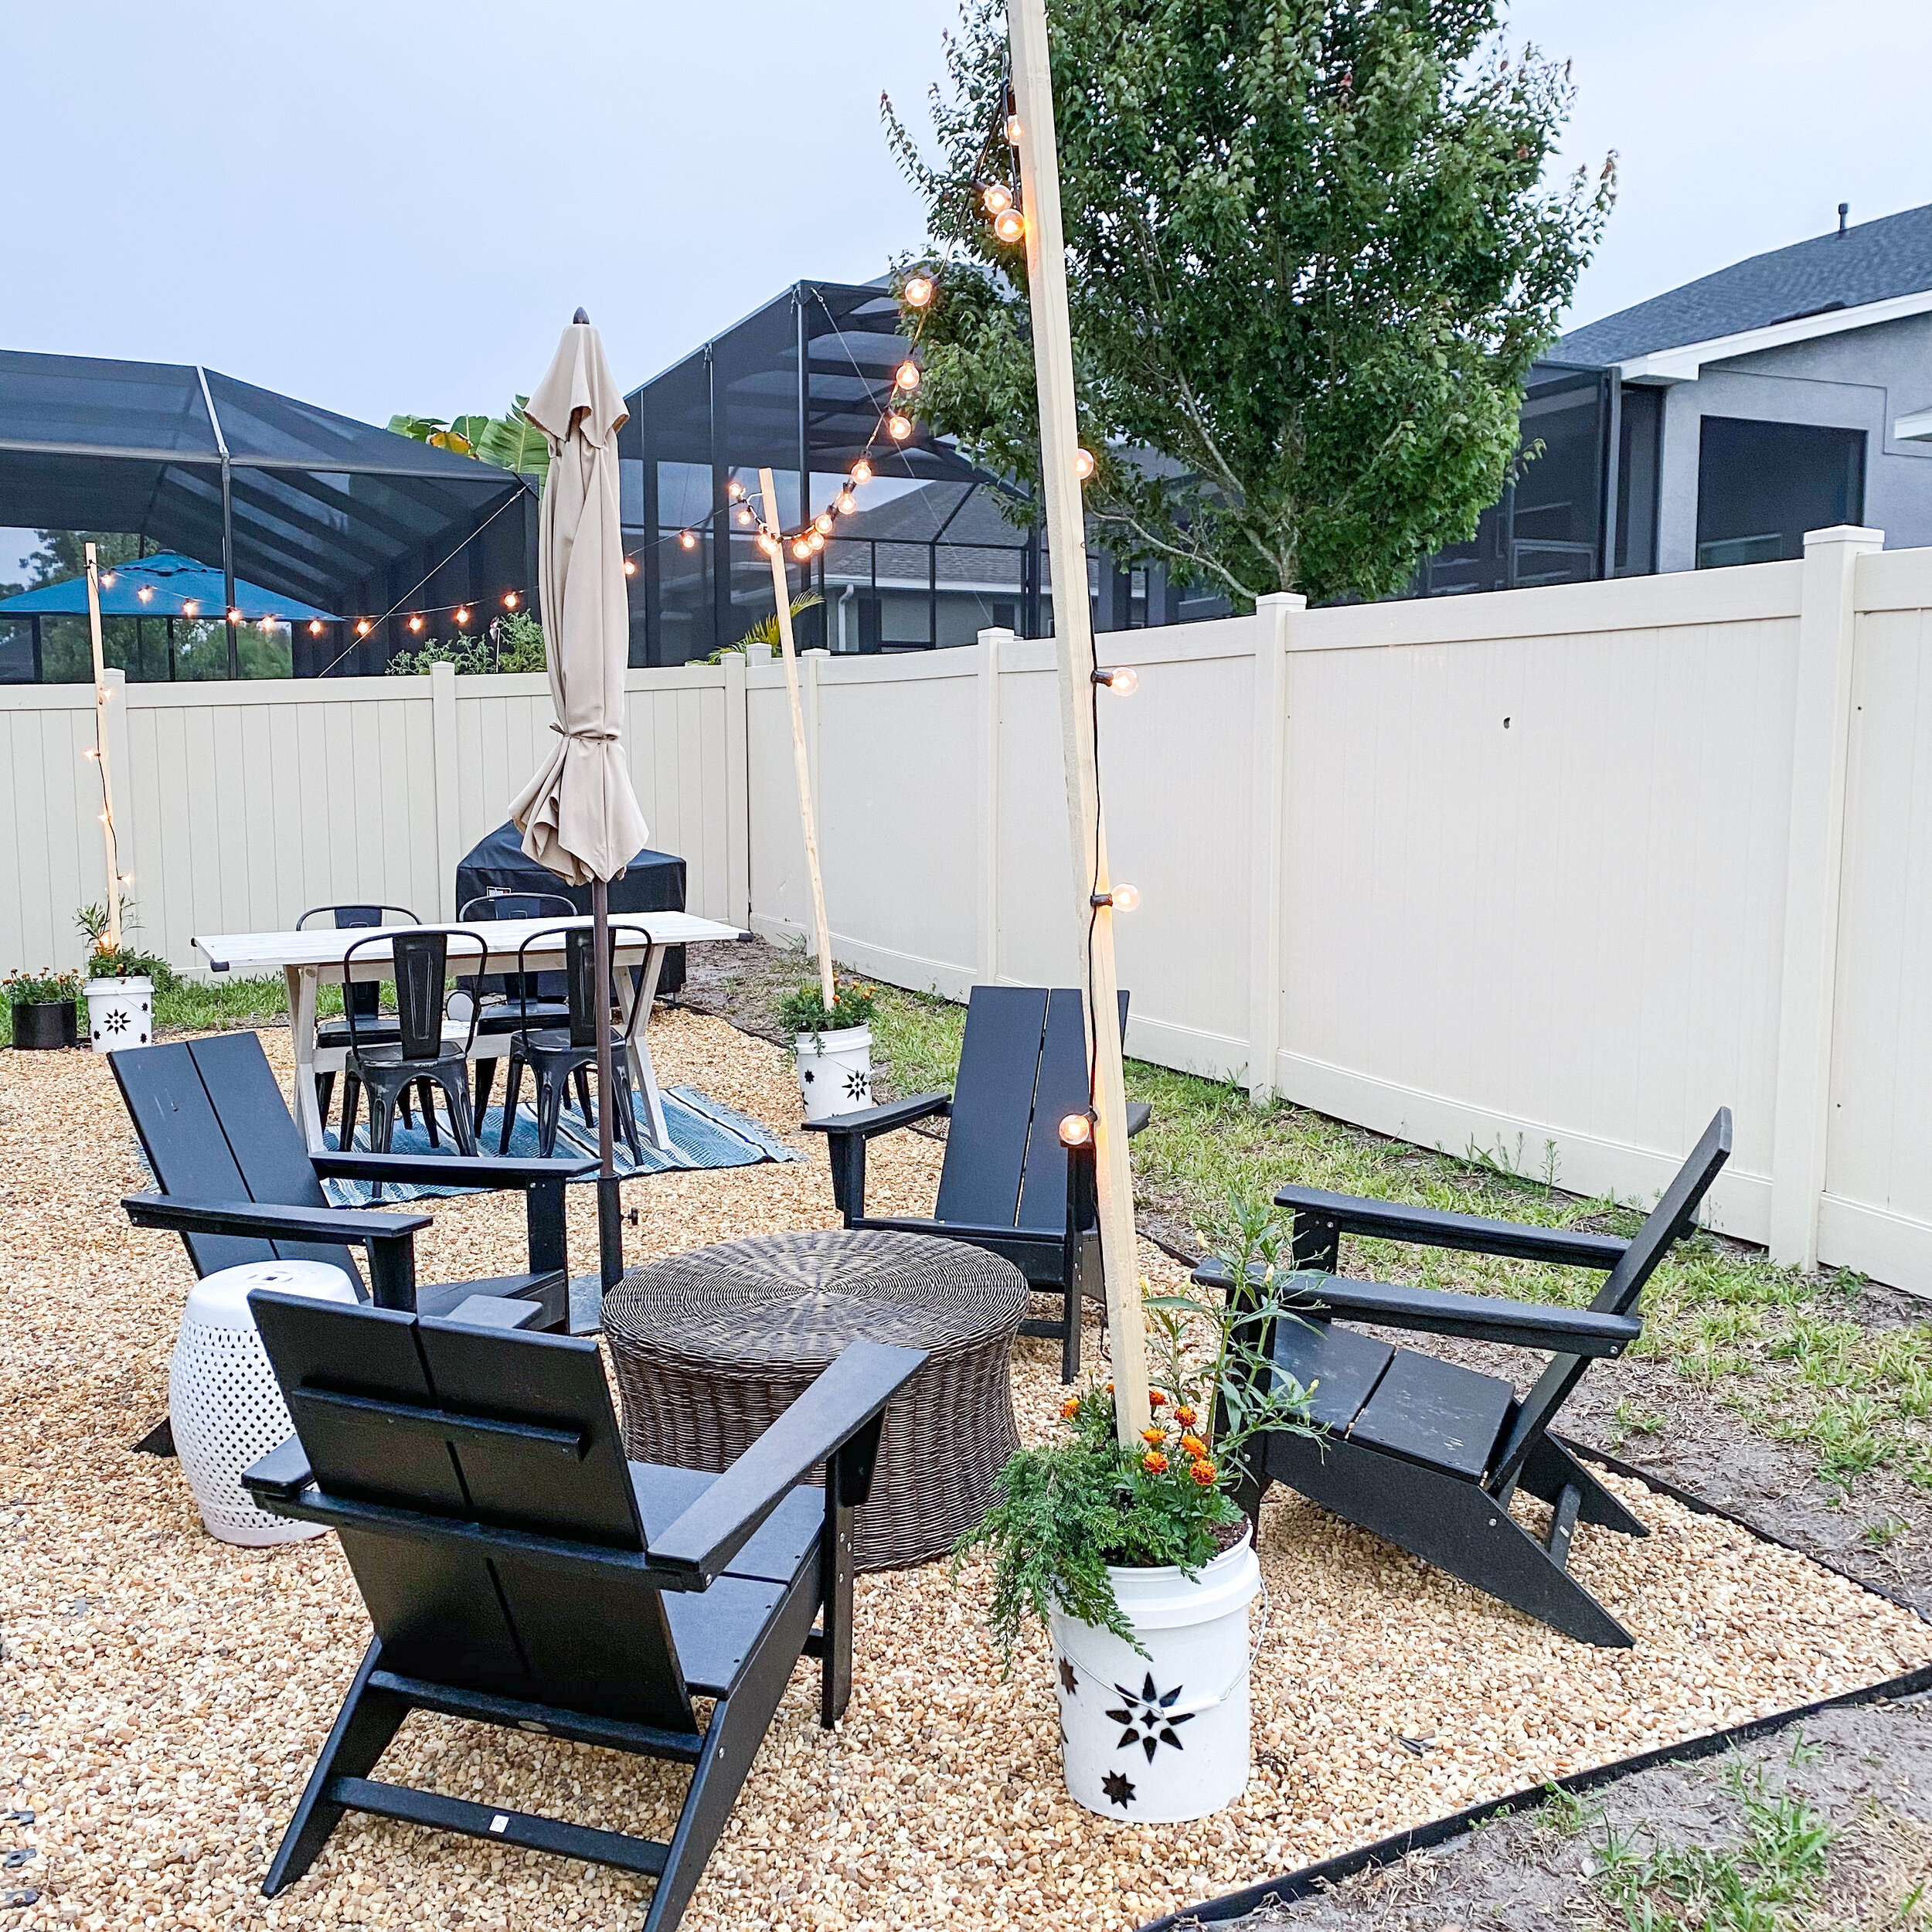
We opted to have a small dining area and a conversation pit out here with some string lights to cozy it up. Once we can host people again, this area will be the place to be!
The final budget came in somewhere around $500, most of that spent on pea gravel. Our second largest single expense was the tiller rental which was only about $50. You’re not going to beat the overall price tag of this project!