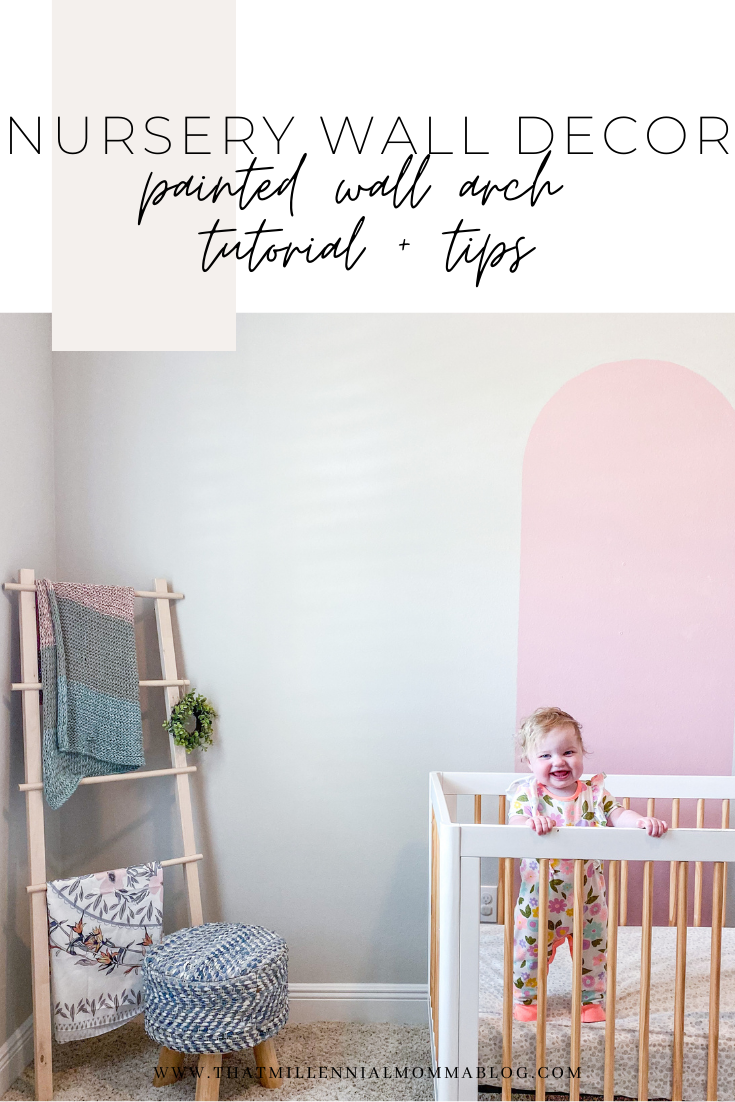
DIY Painted Wall Arch Tutorial
/This post contains affiliate links.
I’m back at it again! Painting something on a whim! Earlier this year I decided to add a little pa-zazz to our patio by stenciling a concrete patio out back. It turned out so well, that I decided to trust my instincts when I felt the urge to paint something else.
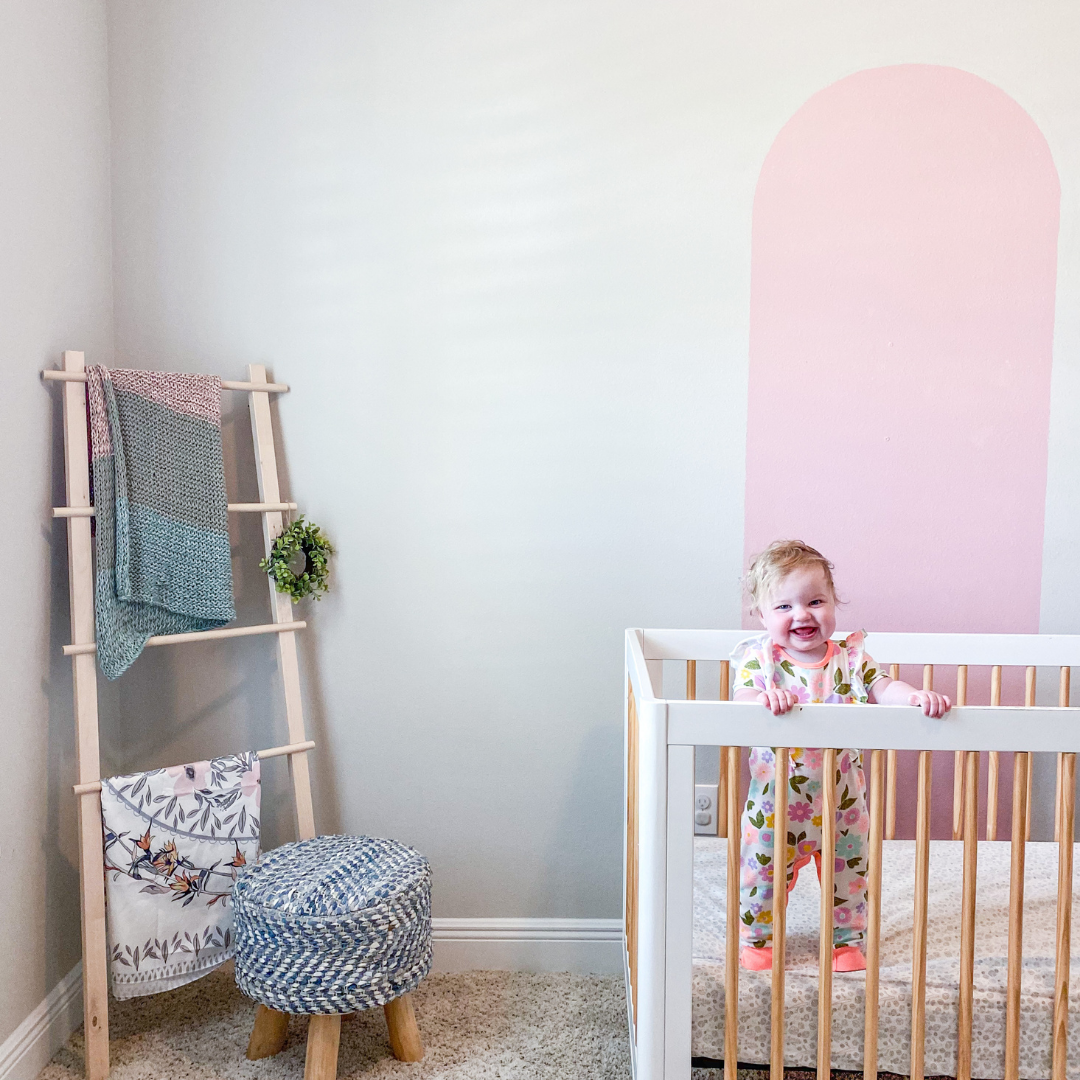
This time the target was my daughter’s nursery. We just recently switched up the kids’ rooms so her new nursery has a wall behind her crib vs a window. I hadn’t planned any over the crib decor for her previously since the window was right there.
I had a lot of ideas that included meaningful prints, mirrors, etc. that would achieve all my design dreams. However, generally speaking I don’t like putting anything over the crib from a safety perspective. For my first two kids, I hung a child’s size quilt over the crib. My thinking there was that if it was pulled down, it would be light and not maim my child. But even then, I had to attach the quilt with something point that could fall in the crib and become a choking hazard. (Have I mentioned that I have a bit of anxiety?)
NOTE: When you are thinking of how to decorate the wall above a crib, consider the fact that your newborn will grown up in that crib. They will stand and bounce and reach for things. When you start hanging things for a newborn, hang them out of reach of the grabby little hands of a toddler.
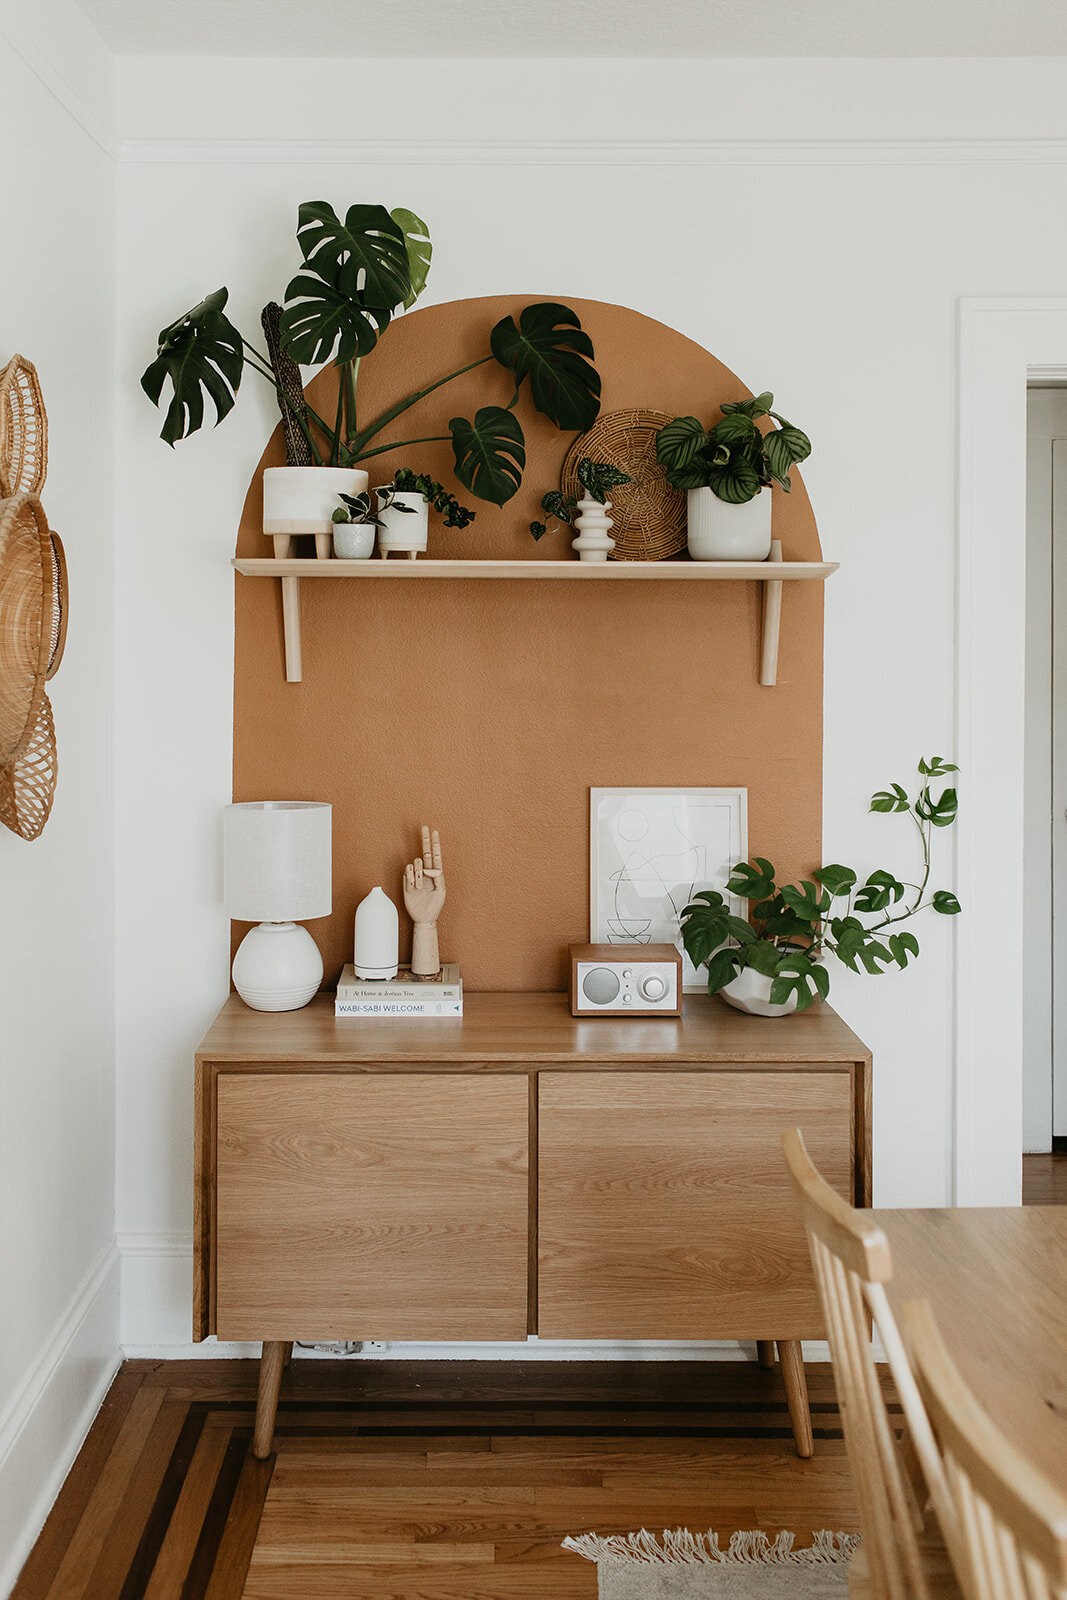
With all that rolling around in my mind, I landed on the idea of a painted nursery accent wall. This way the wall will be filled up, but there is literally nothing that my child could grab. Based on the decor in my daughters nursery, I knew I wanted to do a soft pink, but I wasn’t interested in a totally pink nursery or even a full pink accent wall. A few Pinterest searches led me to the painted arch accent wall trend.


I loved this idea because it meant minimal cutting in around molding which is my absolute least favorite part of painting. I hated this idea because I quickly realized that I would have to do a little math to achieve the perfect arch. The love and reduction in anxiety that this project would create outweighed the hatred for math, and I started assembling my supplies.
How do you paint curved lines on a wall?
I too was stumped by this, but the process really does make sense once you get going. Just prep yourself to go back to high school geometry. First things first, grab all your supplies.
Supplies for DIY painted wall arch
Paint (varies depending on size of arch- this project only required about 1/2 quart)
I used Behr Premium Plus Paint + Primer in one. I needed to do two coats for an even finish.
Roller frame (small or large depending on the size of the arch )
Roller (to fit frame)
Roller Tray (tip for usage below)
Pencil
String
Thumbtack
Instructions
Determine the ideal width and height of your arch. If it is smaller or larger than a certain piece of furniture, measure the width using that piece.
Using your level, draw vertical lines on your wall using a pencil (you’ll cover it with paint later) all the way up to the point where you want your arch to begin.
Measure the exact midpoint of the width of your arch and put a thumbtack in the wall there. Some tutorials suggest a nail, but that just creates a large hole that you will then have to fill and sand before painting.
Heres the math - You will be creating a compass with a piece of string attached to that thumbtack on one side and your pencil on the other. In order to do this, your string will need to be 1/2 the width of your arch plus however much you need to tie one end of the string to the pencil + the other end to the thumbtack. This is trial and error, but as a starting point I would suggest adding four inches. (So that makes it 1/2 the width of the arch plus 4 inches.)
TIPS
You could tie the string to the thumbtack before attaching it the wall. That way you only have to estimate how much extra string you will need to attach to the pencil end, which will likely be about 2 inches.
When you think you have your string measured properly, do a test run on the wall without drawing on the wall. You can make adjustments this way without making a bunch of lines on your wall that you then have to erase.
When everything is measured out, you will use your DIY compass to draw the arch connecting the two vertical lines that you already drew. Once you get it perfect, remove the thumbtack from the wall.
Cut in your arch using your cutting in brush. Cut in on top of the pencil marks that you made unless you want to go back and erase all those marks. Move slowly. Doing this part properly will get the sleek finish.
Use your roller to fill in the arch. Again, go slowly. You don’t want to get too close to the edge.
Add additional coats of paint as needed.
BONUS PRO TIPS:
MONEY SAVER: Line your roller tray with aluminum foil. Dump extra paint back into the can of paint, and toss the foil. You can continue to reuse your roller tray for future projects.
TIME SAVER: Waiting for one coat to dry? Wrap your paintbrush or roller in plastic wrap and set it in the fridge. No need to rinse!
And there you have it! Drawing curved lines on your wall with minimal math and just a tiny hole in the wall.
In my mind, this is the perfect solution to crib wall decor. There is no risk of anything falling on baby or being pulled down by baby. I have toyed with the idea of expanding this arch into a true nursery accent wall by adding additional arches to the wall overlapping one another using the same method. But for now, my weary math hating mind shall rest.